*If you are brand new to free motion quilting, I suggest watching YouTube videos, taking a class, or seeking out a comprehensive instructional guide online as this is merely a thought dump on FMQ with this particular machine :)*
Free motion quilting on a domestic machine isn’t for the faint of heart. In my experience it requires a lot of practice and stepping out of your comfort zone! Because of all the time you have likely spent preparing to FMQ an entire quilt, it is extra discouraging to have things like skipped stitches and broken threads plaguing your hard work. Also, ripping quilting out is slow and painstaking, so I prefer to avoid it as much as possible!
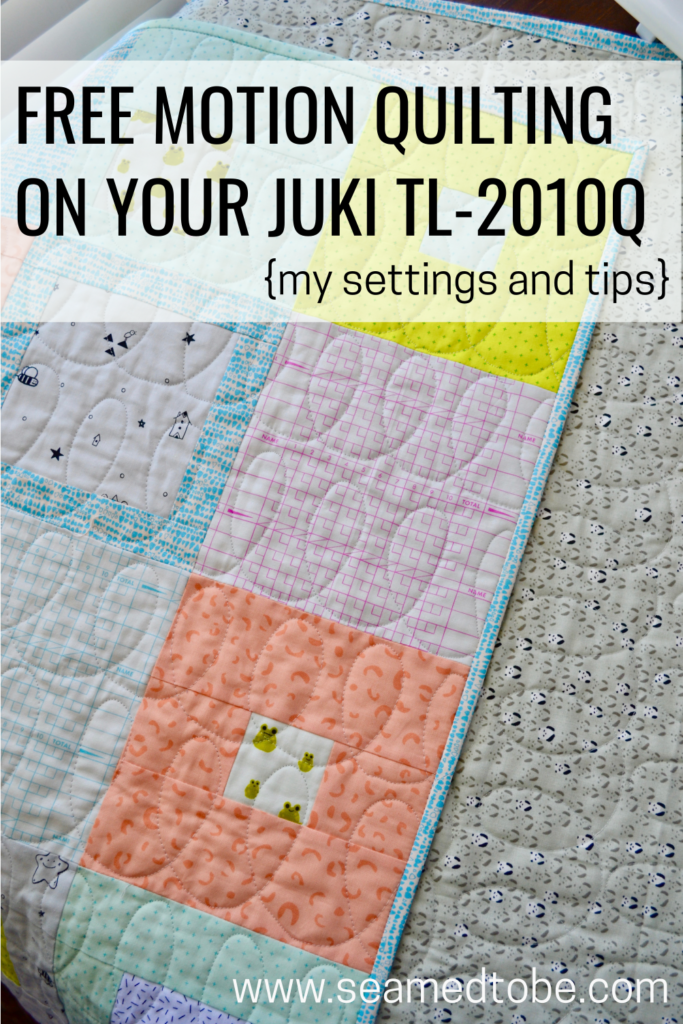
The JUKI TL-2010Q has become a very popular machine in the quilting community, so I thought I would share the machine settings settings that work best for me when FMQing! Of course there is no silver bullet for this with all the variables involved, but perhaps my numbers can give you a few ideas to hone in more quickly on your FMQ sweet spot.
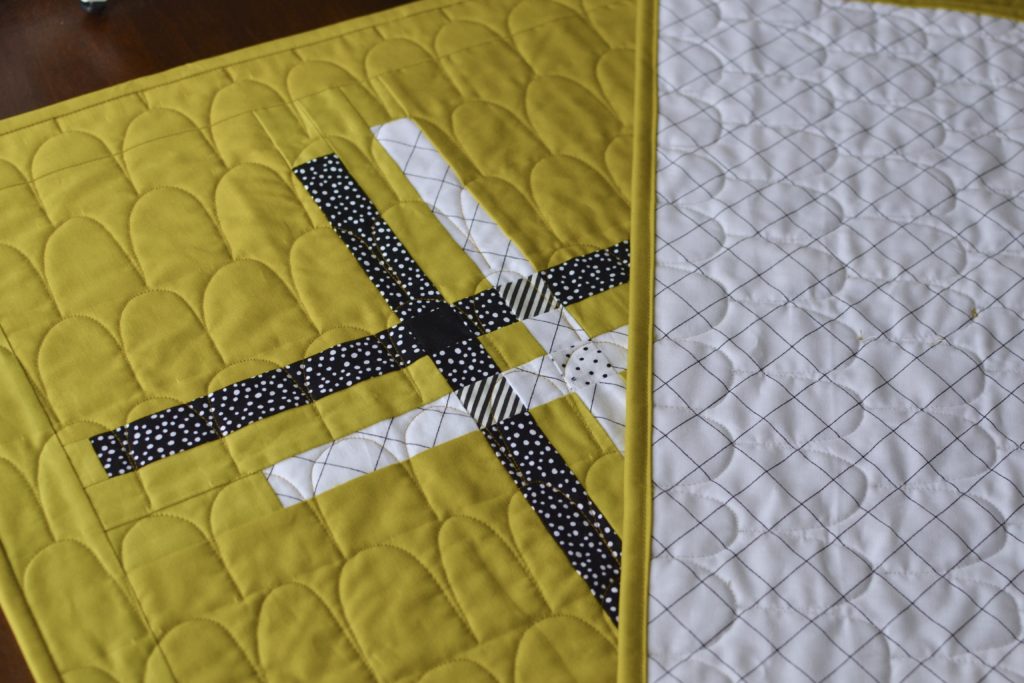
Before thorough troubleshooting, my most frequent FMQ problem had been skipped stitches on designs with smooth curves like hearts, loops, and humps/scallops. I would be stitching right along just fine, but on certain parts of the design, skip one or several stitches in a row. Sometimes it seems to be caused by going over seams, and sometimes by a certain direction of motion in the design. (In my case, curved vertical lines sewn bottom to top, pulling the quilt toward me. This makes sense when you realize this isn’t the direction a sewing machine is “used to” sewing.)
I did a lot of googling for adjustment ideas and after a bit of a trial and error, finally got things running smoothly! I happily finished the hump quilting on my pickle Tuesday Plaid quilt and took a snapshot of all my settings so that the next time I prepared to free motion quilt, I would be able to spend less time troubleshooting settings and more time quilting. A frustration free FMQ session is so satisfying!
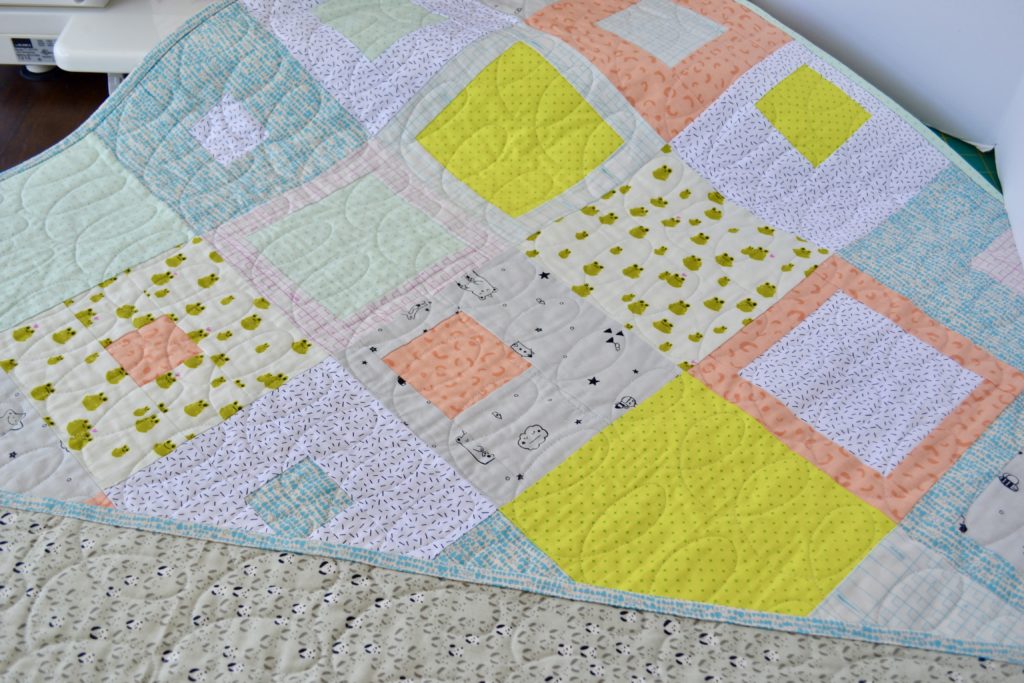
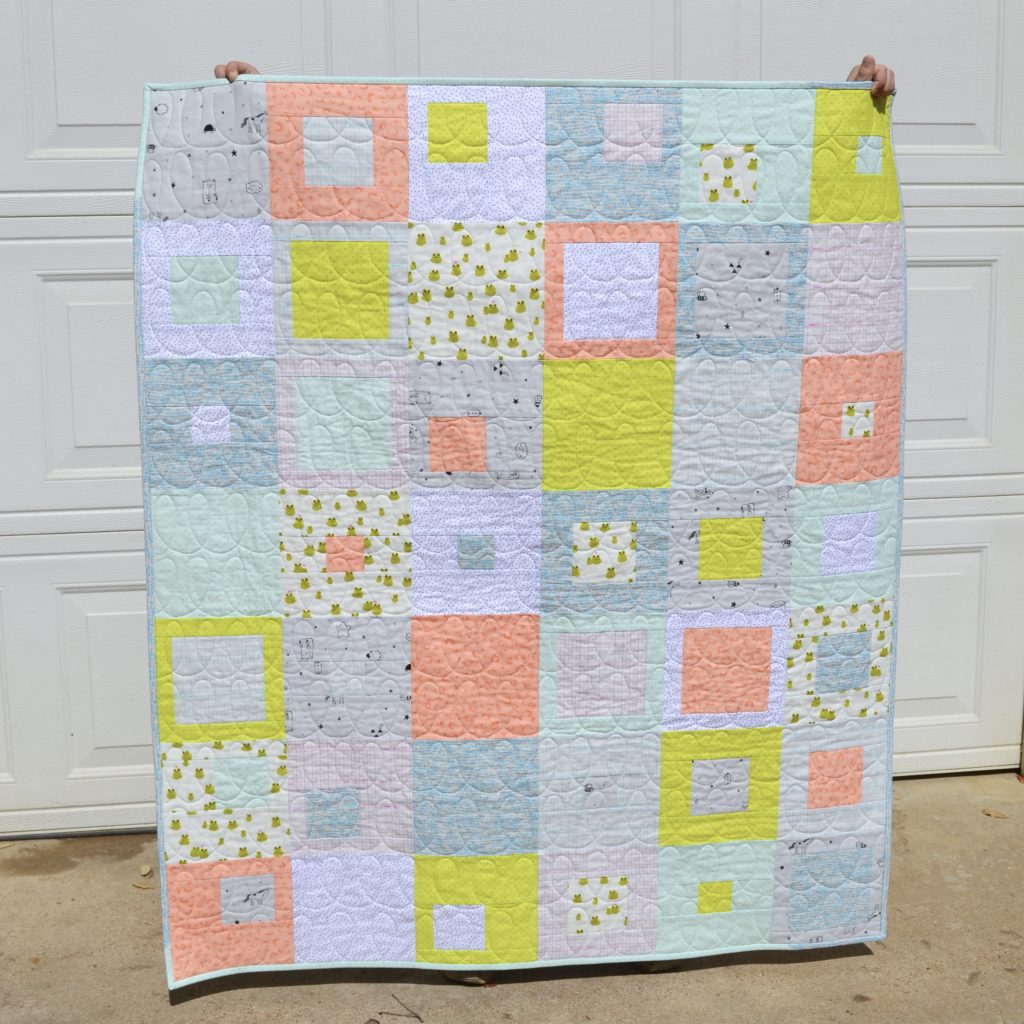
Using those prior settings, I was able to dive into quilting loops onto my baby size Tango Quilt after just a few small adjustments. Victory!!
My settings
When compared to my normal piecing settings, for free motion quilting my JUKI likes lower top tension and more pressure on the presser foot. Both of these adjustments keep my machine catching the bobbin thread effectively, thus avoiding skipped stitches!
- Stitch length: 0
- Feed Dogs: DOWN
- Presser foot pressure: One notch below the medium dot. See photo!
- Thread tension*: 1.0 (front tension dial for the top thread, read with the presser foot down) I know. . . it seems low. My machine wants what it wants!
- Speed: I like it a little on the rabbit side of the middle. For piecing I am full speed rabbit, but for FMQ I like to be a little more conservative to prevent accidental rapid/tiny stitches that are impossible to pick out. Whatever speed you pick, consistency is key to match the speed you are moving the quilt with the speed you are stitching.
*If this thread tension setting gives you too “flat” of a bobbin thread on the back of your quilt, the tension should be increased incrementally until you find a perfect balance.

My Supplies
I do not presume to say these are the “best” supplies for free motion quilting on the JUKI TL-2010Q, but they are what I use with the settings listed!
- Aurifil 50wt cotton thread– This thread was recommended to me years ago in my Intro to Quilting class, and I took their word for it! It is the only brand I buy.
- Organ Needles 90/14– Lots of these came bundled with my JUKI machine! They work well for me and are so much more affordable than buying needles at a craft store.
- Quilting gloves– I have Machingers
- FMQ foot: This machine comes with two feet that will work for free motion quilting. I prefer the one that gives me better visibility- the circular outline is thinner! It is referred to HERE as the 1/5 Quilting Foot
My prep
These are steps you may be tempted to skip, especially if you have done them recently. I’m here to say, DO THEM ANYWAY! Set yourself up for success with a clean, oiled, sharp sewing machine so you know whatever blips you encounter are due to technique or settings, not the condition of your gear.
- CLEAN IT– Yep, take the plate off and really clean it! Clean the bobbin case too.
- OIL IT– This machine requires more frequent oiling than other machines I have had. I like to operate all the bells and whistles and do a little test sewing after oiling to get it moving through the machine. Here is what I use!
- CHANGE the needle. Just do it. 🙂
- WARM UP– I keep a little quilt sandwich tucked under my extension table so it is easy to grab and do a few test stitches on. A word of warning though –> a small quilted square is much easier to manipulate than a big quilt, so do not get discouraged if you have a harder time on the real thing. That is normal!
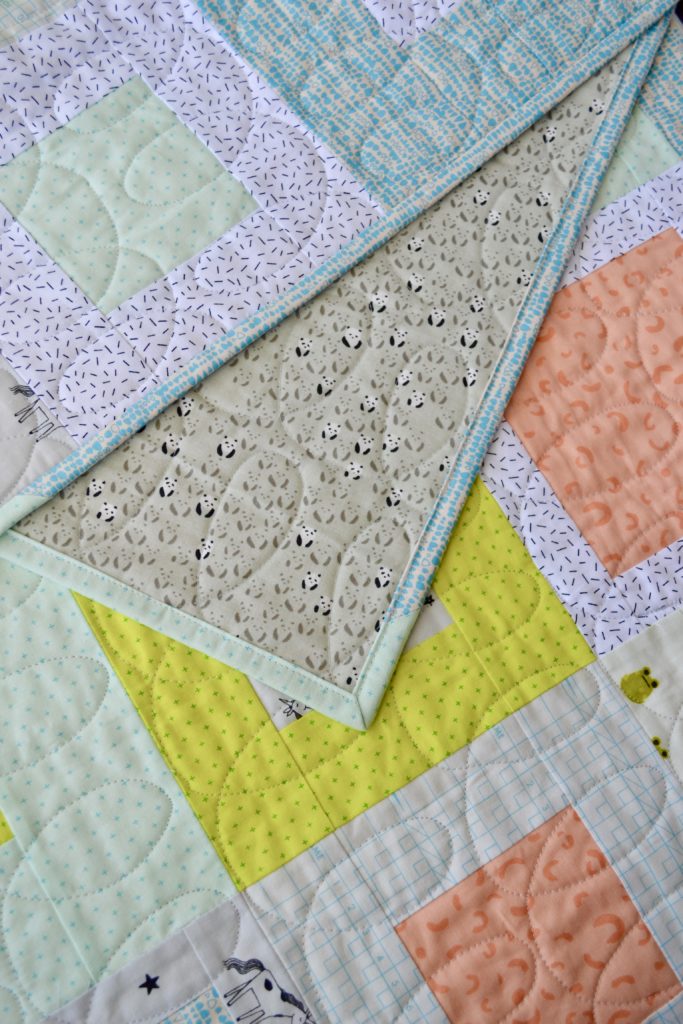
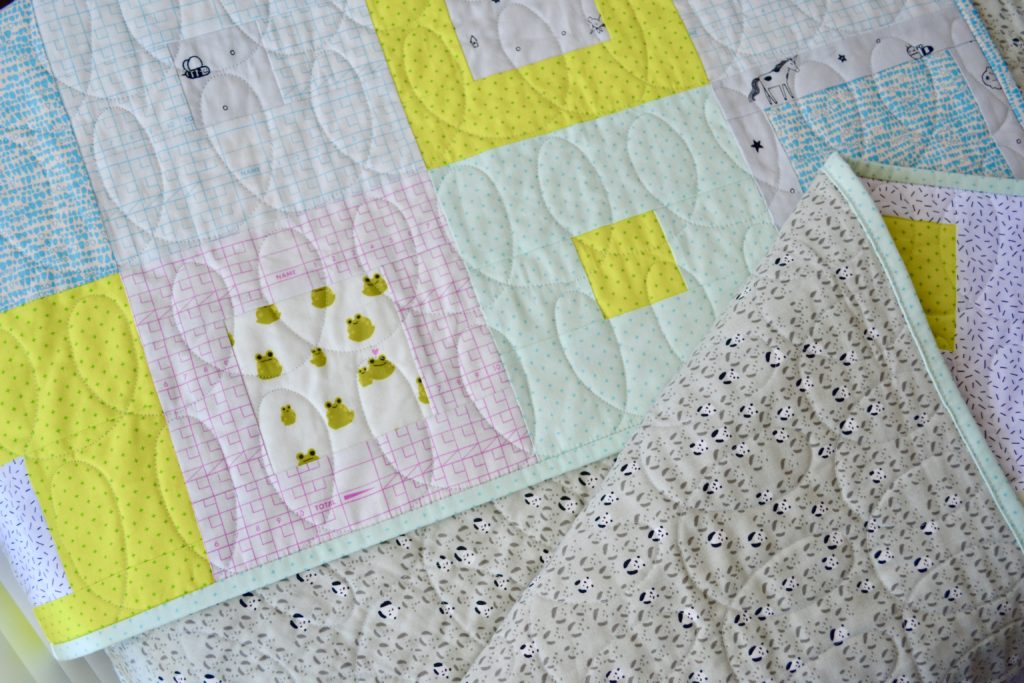
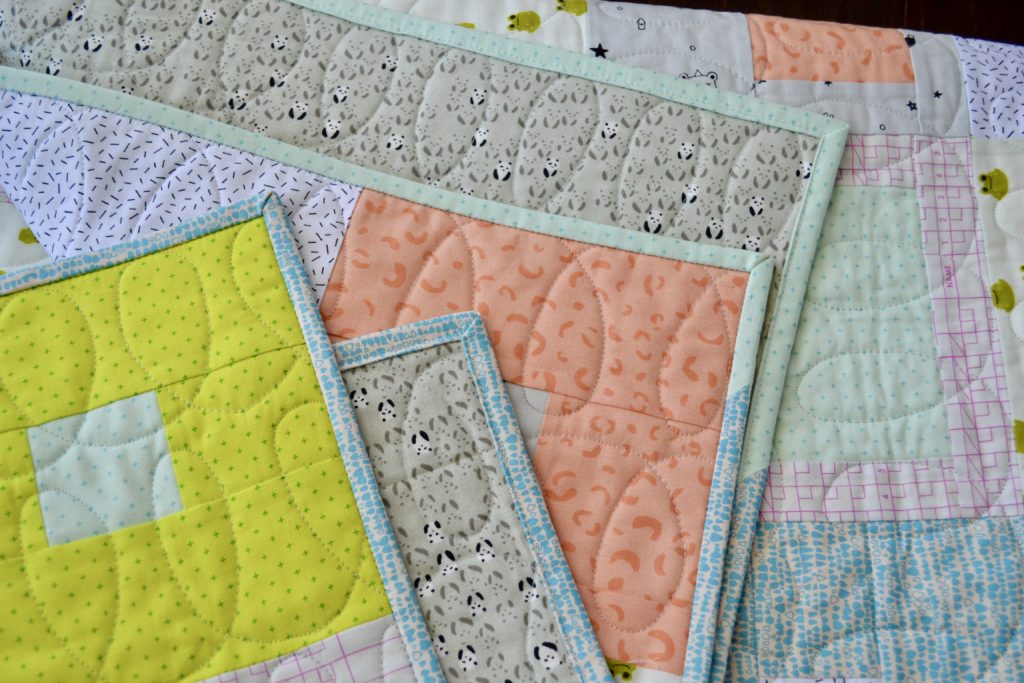
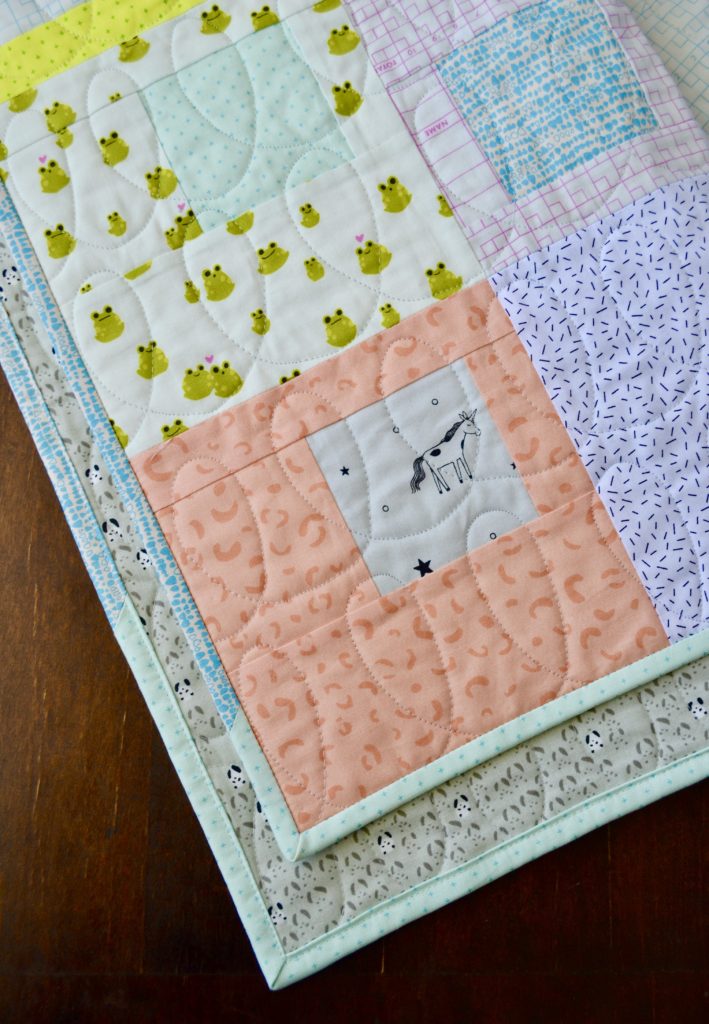
Loopty loop
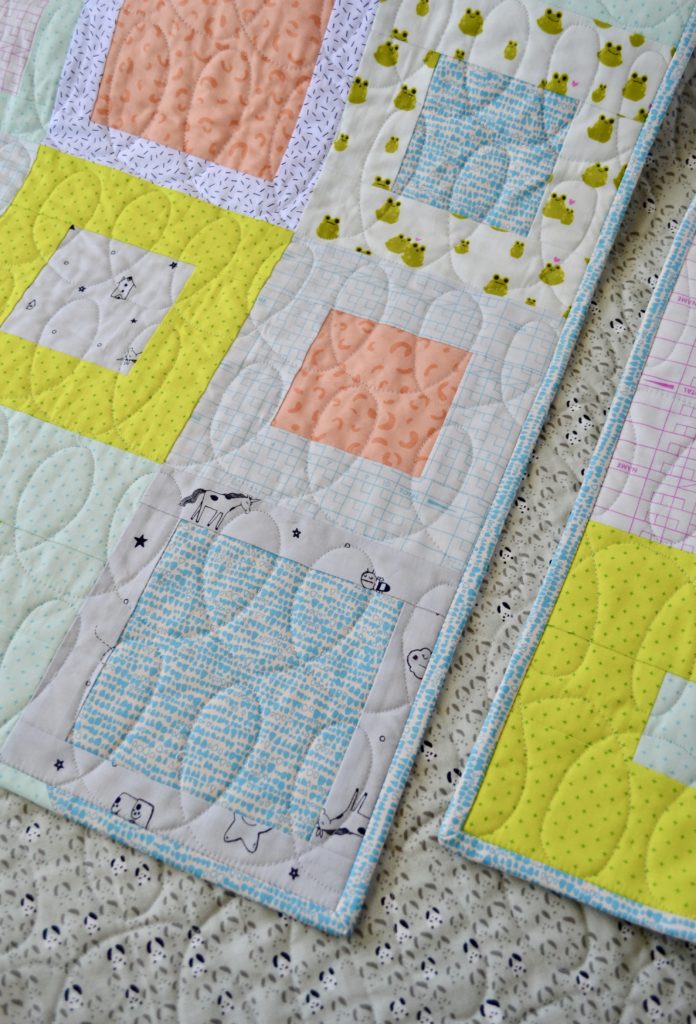
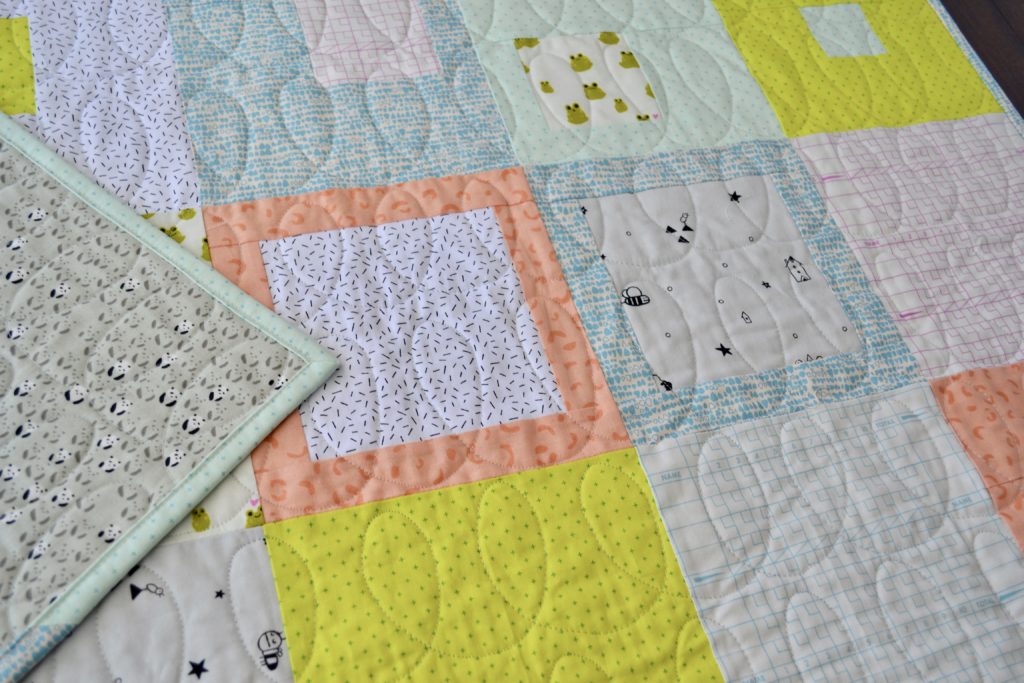
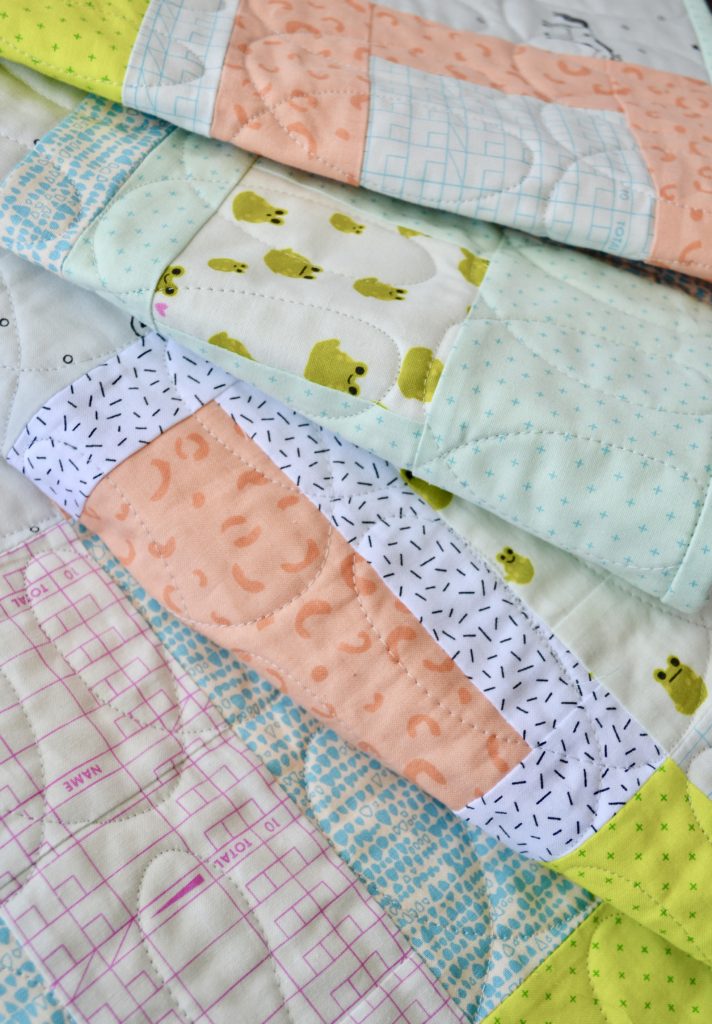
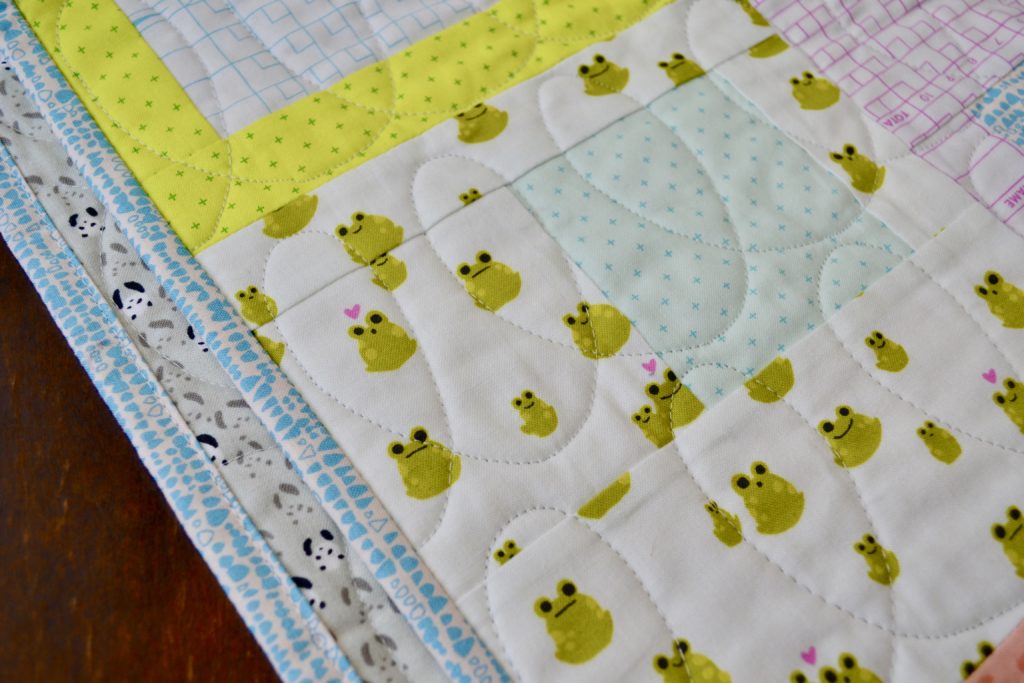
I chose the size of the loops on this baby quilt by the size of the blocks. I didn’t want to mark for the quilting, so I used the guidelines of the bottom edge of each block to make my first row of loops, done left to right. I extended the loops about halfway up the block, just by eyeballing it.
After quilting each initial row of loops across the bottom half of every block row, I went back and did a second row of loops in the top half. I extended these loops up close to the top edge of the block. As you can see, I like a little variety in the size and shape of my loops. Allowing for a little variation keeps me sane and adds to the visual interest, in my opinion!
This is a good beginner FMQ design since you start quilting on the batting, and end on the batting. There is no need for thread burying or knotting! The predictable direction of the design also makes it beginner friendly, unlike a meander that requires you to make quick decisions about where to go next while you are stitching.
General tips
I recommend reading other, more comprehensive guides to free motion quilting and watching YouTube videos if you are new to free motion quilting, but here are some basic tips I’ve found useful!
- Support the weight of the quilt as best you can with a large table or chairs to catch it when it falls off the edge. Sudden tugs and pulls are a recipe for disaster!
- Wear quilting gloves! It may feel silly, but they really do make a difference in how you are able to grip the quilt and move it effectively.
- Frame the area you are quilting with both hands, making it flat and gently taut. This can be challenging with a large quilt bunched up in the throat of the machine, or in your lap but it will give you the best results and control!
- I much prefer bunching to rolling for managing the quilt while FMQing. Bunching accordion style into the machine throat allows the quilt to move and expand with ease as you quilt in that direction (left to right).
- If you are struggling with tension this is a handy link!
I hope this advice has been helpful to those of you who own this machine, and maybe even some of you who don’t! Happy quilting,
Robin
Thank you, thank you, thank you!! I have been free motion quilting on this machine for a long time. Took it in for mantainance and I couldn’t get it working well. I tried a new needle, changed thread top and bottom, even changed fabric and batting in a quilt sandwich. I didn’t have the presser foot pressure set down. I didn’t remember that making such a difference, and didn’t realize they moved that during maintenance. Your settings are perfect for my TL2010q too. Again, thank you so much for posting!
I’m so glad that helped! I need to update this post, because I have recently also tried some new needles that make it even easier to get great stitches! I have started using Organ HLx5 size 110/18 PD instead of my usual Organ HAx1 size 90/14.
Thank you so much for your insight! I was really getting frustrated with my machine. I can’t believe setting the pressure foot settings down make that much of a difference. Thank You.
I’m so glad the presser foot pressure helped you! Since writing this I have also started using larger Organ needles for FMQ and find them to help even more with avoiding skipped stitches. Organ HL X 5 110/18. Low stress FMQ is the best!