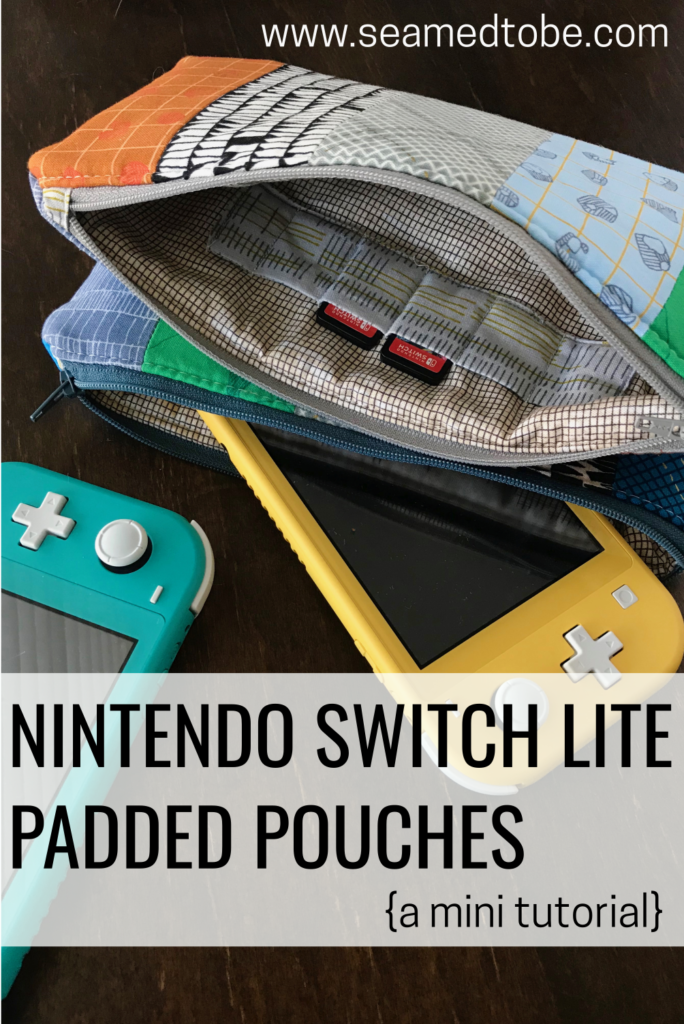
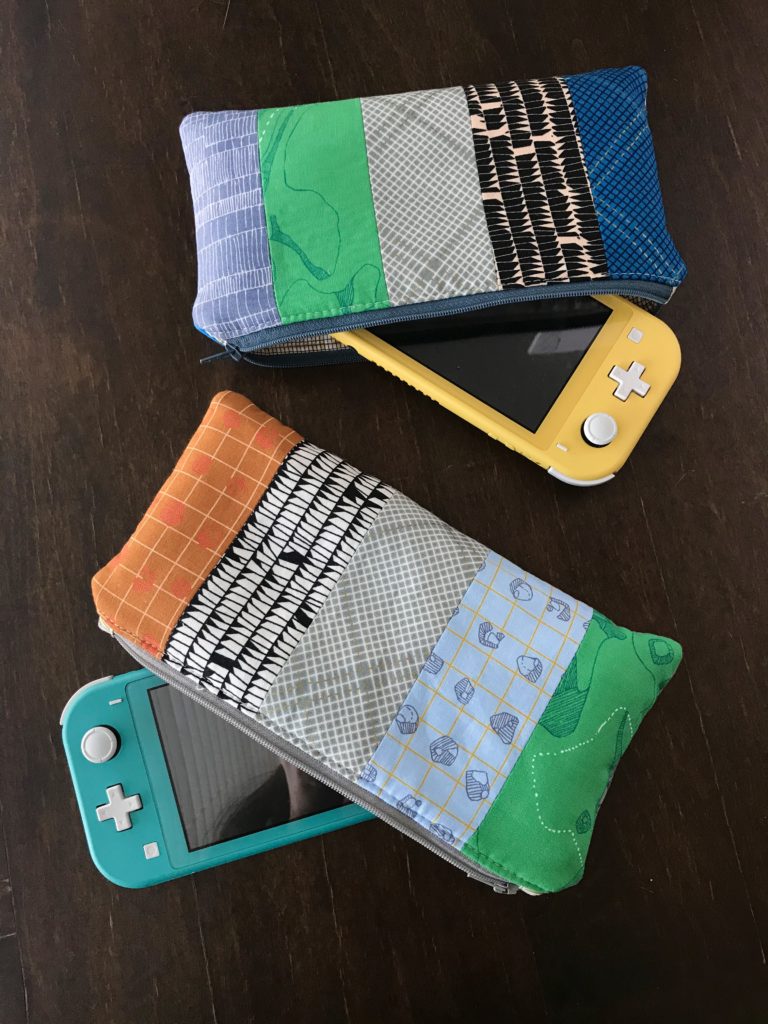
My boys were thrilled to receive their first “my own electronic” for Christmas this year! We got them each a Nintendo Switch Lite and here 6 days later I can say without a doubt they are a hit. I decided to make a padded pouch for each of them for safe storage and bringing on the go.
The following mini tutorial includes materials, measurements, and a few extra steps that make these pouches perfect for Switch Lites. When it comes to the main construction, if you already know how to make a lined zippered bag- that’s great! If not, I happily refer you to this tutorial by Jedi Craft Girl. Amanda does a great job explaining and photographing each step! I will link to her tutorial again later for the main construction of the bag, as to not reinvent the wheel (and respect the intellectual property of another maker!)
IMPORTANT: One key difference between my Switch Lite pouches and her tutorial is that my pouches do NOT have boxed corners, so you can ignore the cutting of a square piece out of each outer and lining panel. Since Switch Lites are pretty flat, our bag doesn’t need that extra step!
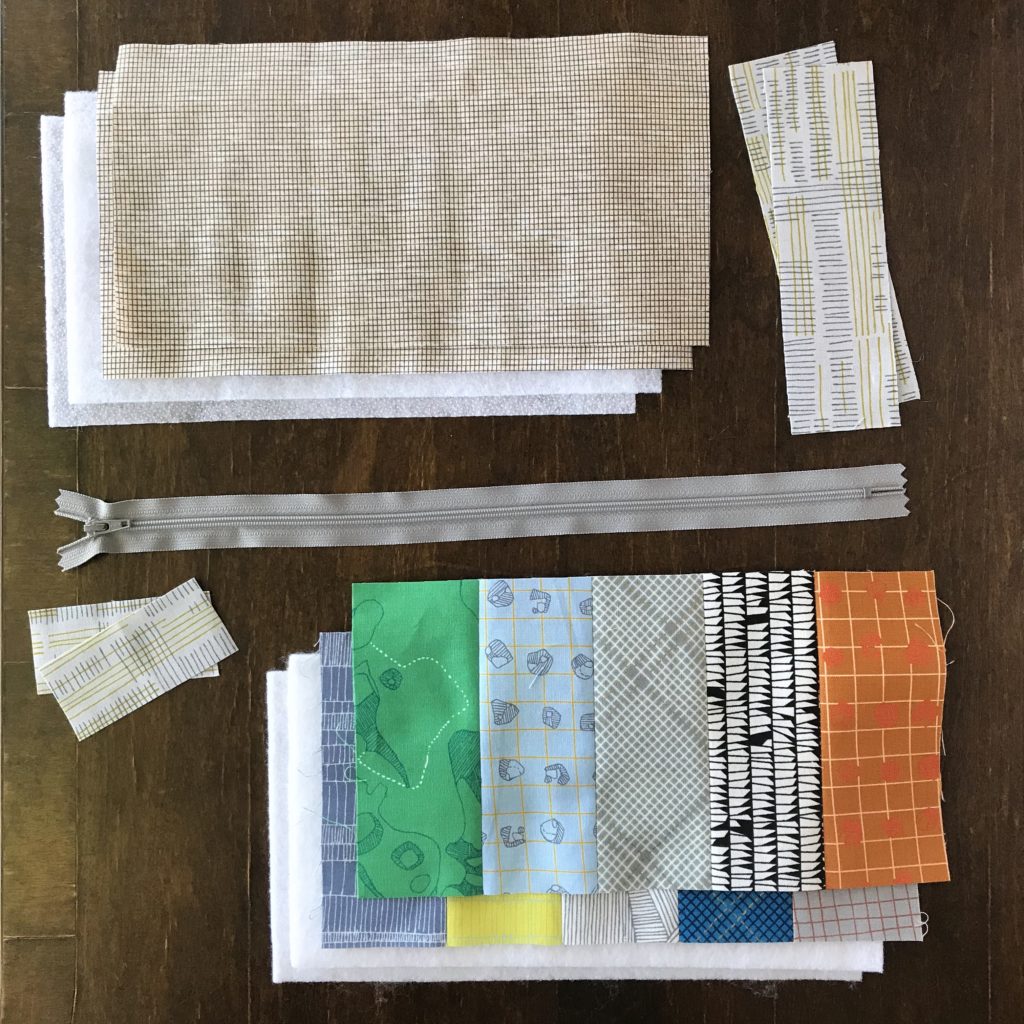
Materials
- (2) 5.5″ x 10.5″ heavyweight fusible fleece (for outers)
- (2) 5.5″ x 10.5″ thinner fusible fleece (for linings)
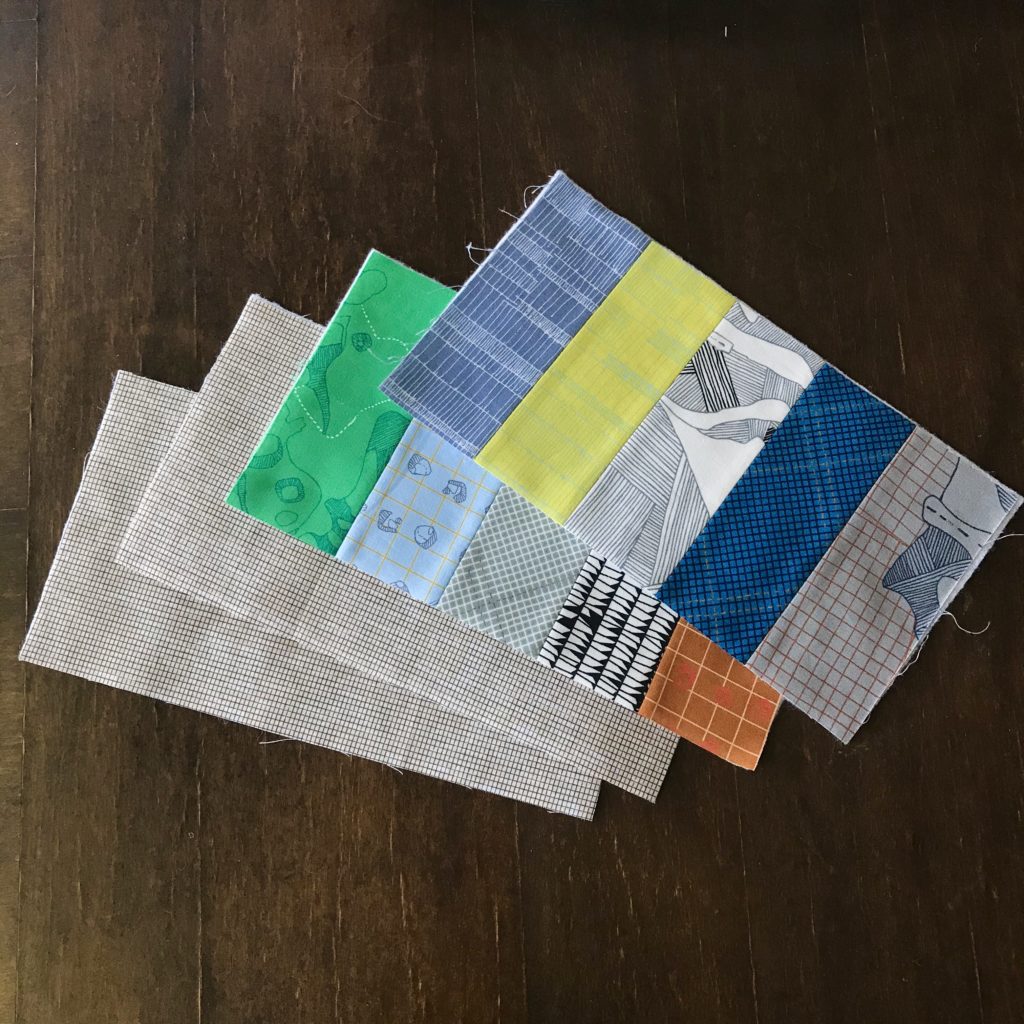
- (2) 5.5″ x 10.5″ outer fabric (or pieced panels like mine)
- (2) 5.5″ x 10.5″ lining fabric
- (2) approximately 2″ x 7″ scraps for pocket
- (2) approximately 1.5″ x 4″ scraps for zipper ends
- something for marking! I use a Pilot FriXion pen that is heat erasable
- a zipper! I buy 14″ zippers like these and cut them down as needed
IMO fusible fleece is the easiest to work with and gives the best combo of cushion + adhesion, but feel free to experiment with batting!
prep and pocket
Fuse the wrong side of the two outers to the adhesive side of the heavyweight fusible fleece. Fuse the wrong side of the two linings to the adhesive side of the lighter weight fusible fleece.
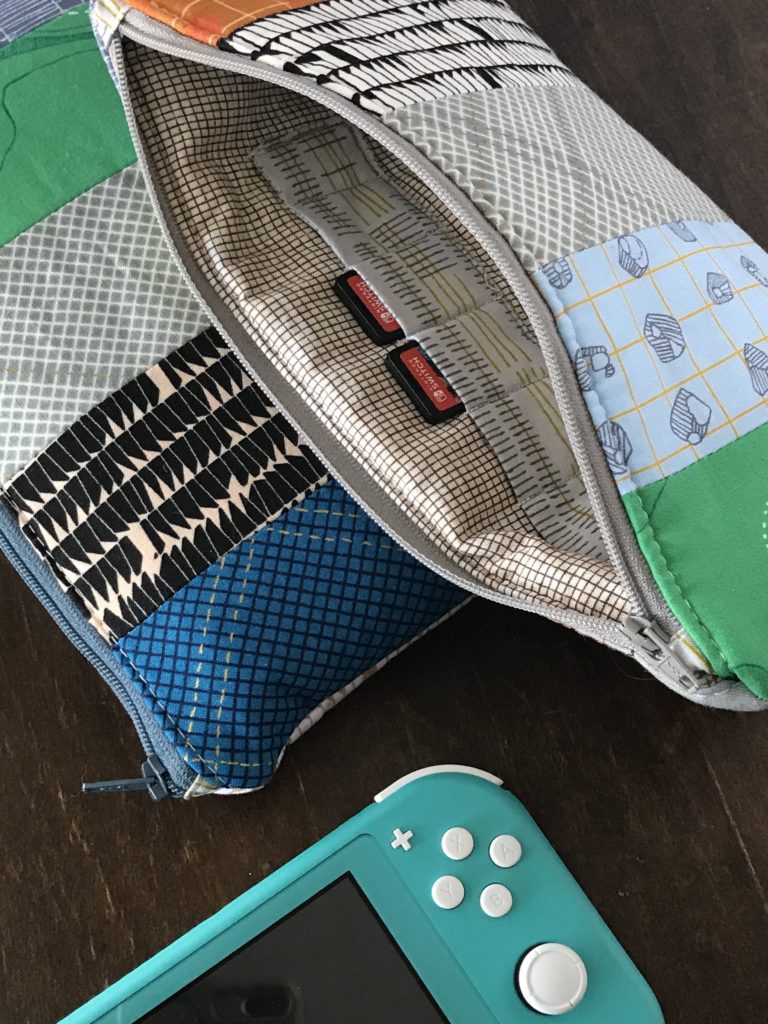
Now it’s time to prepare the pocket. The reason we use two pieces of fabric for making the pocket is the extra thickness at the edges provided by the seam allowances. This will make the top edge of the pocket sturdier for taking games in and out!
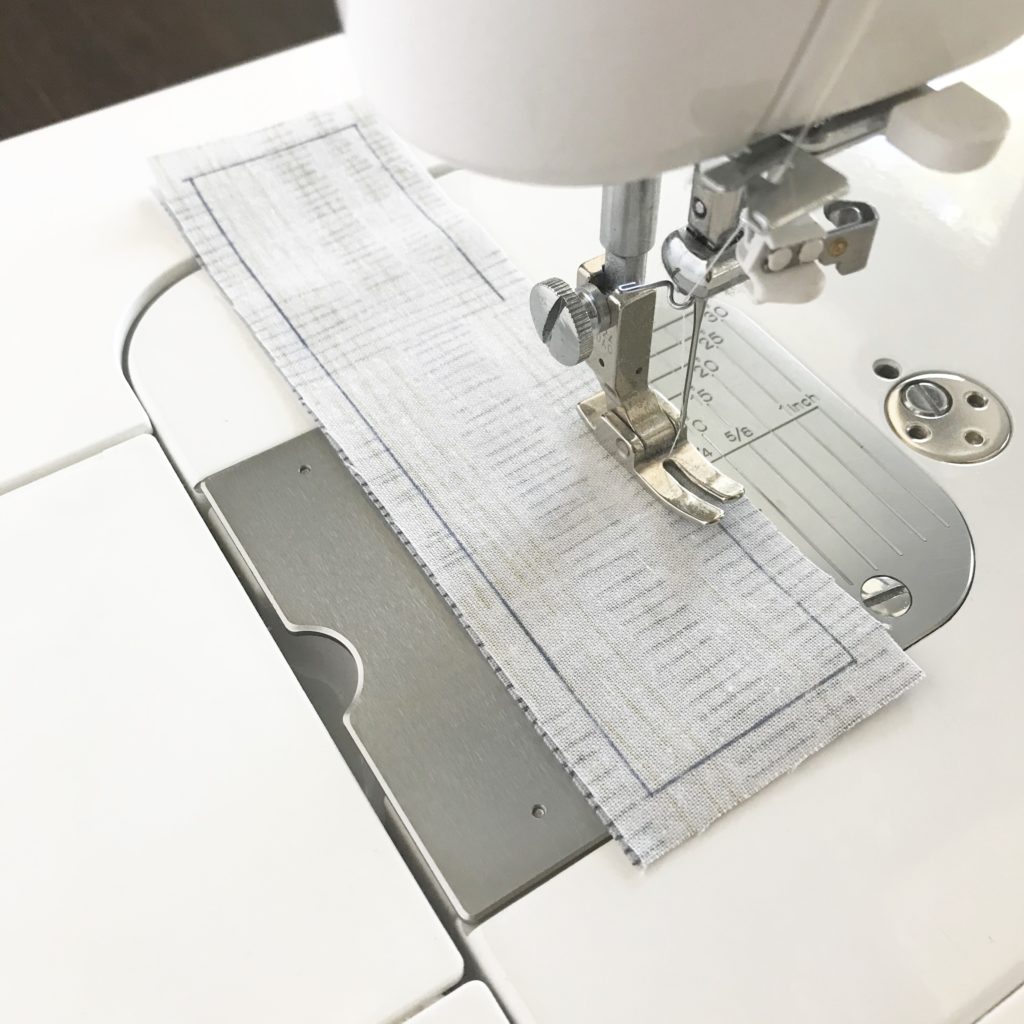
Sew pocket pieces RST, leaving a hole to turn. 
Trim corners to reduce bulk. 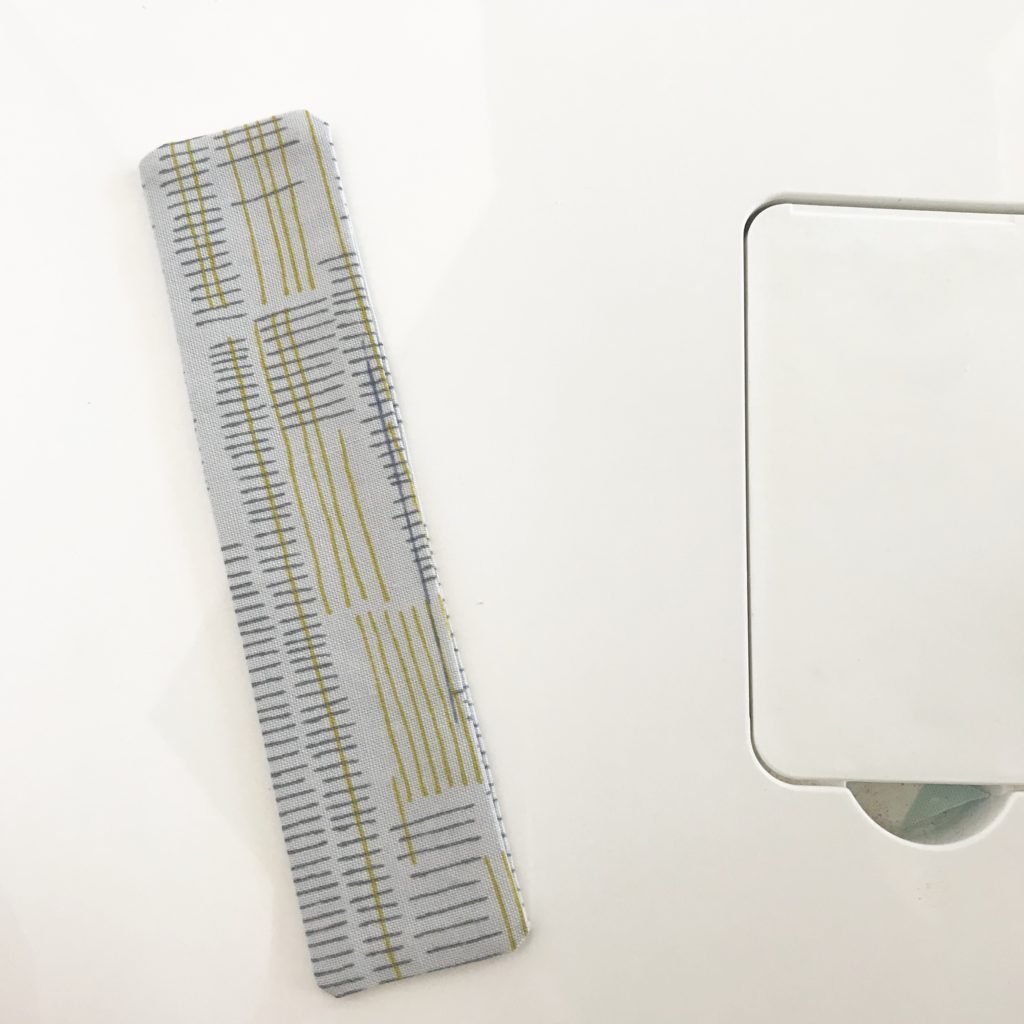
Turn and press.
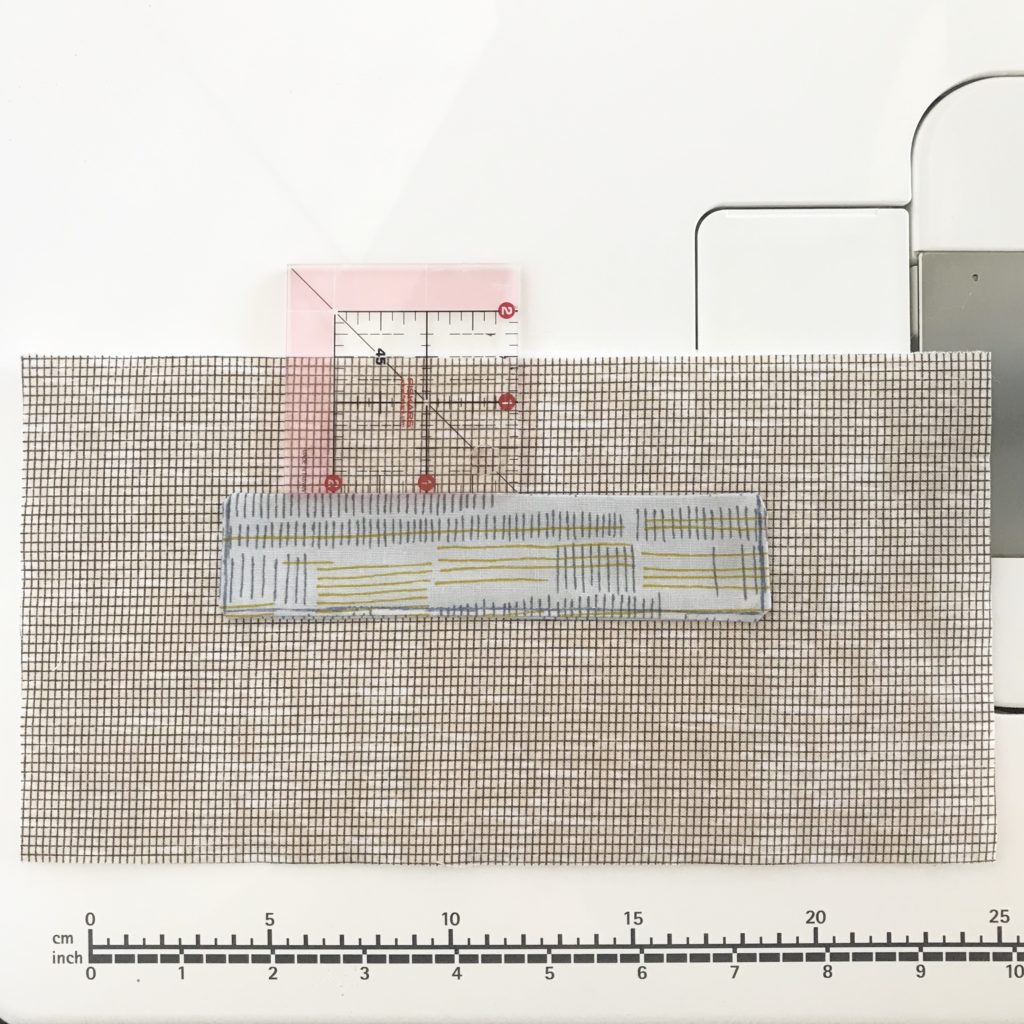
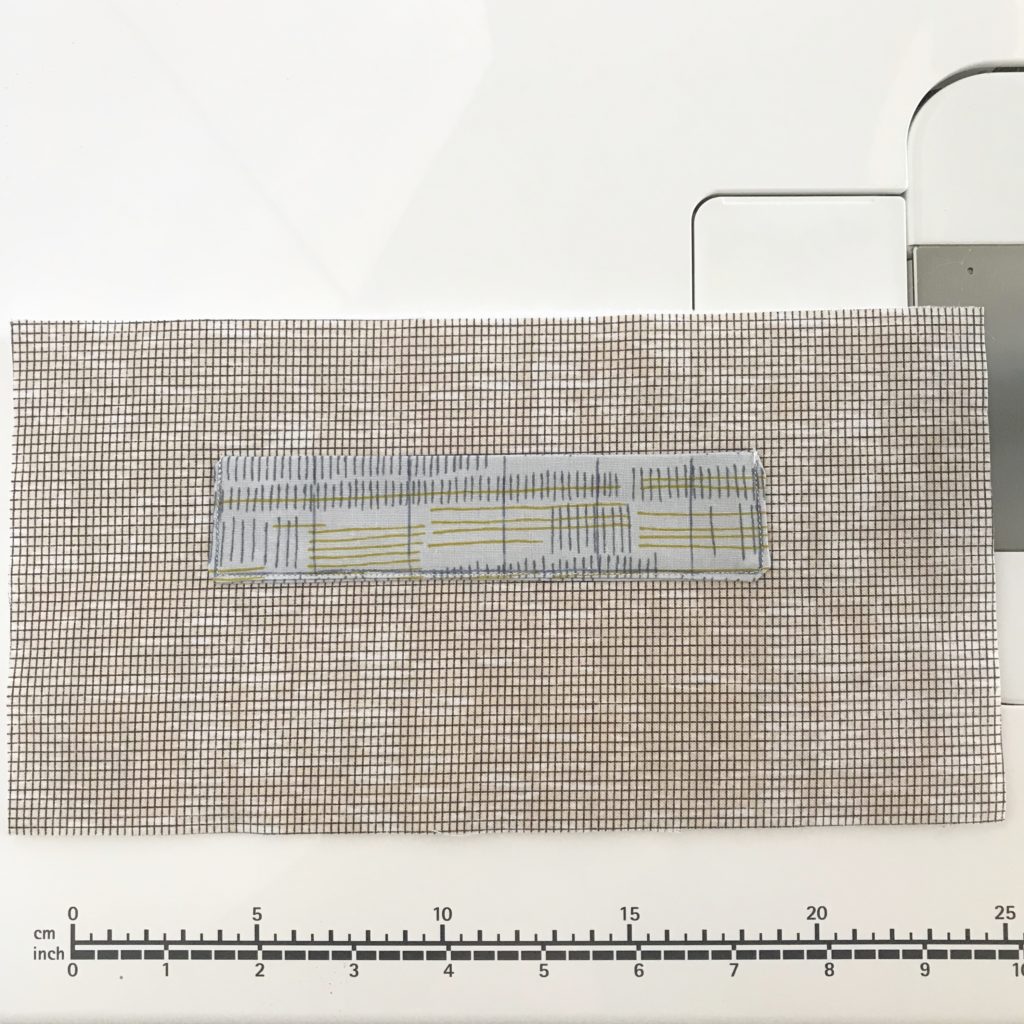
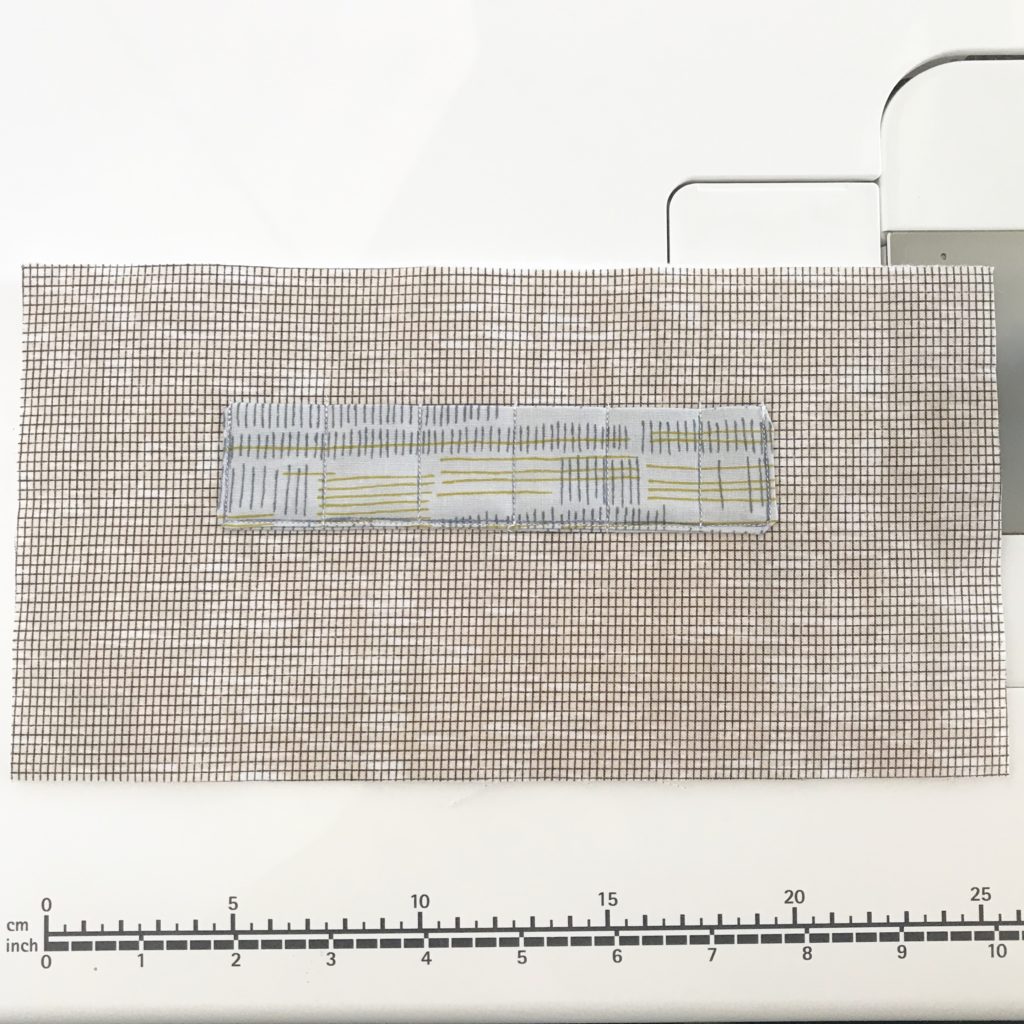
Next we attach the pocket to the lining!
main construction
Great job! Now it’s time to prepare your zipper and assemble your pouch. This is where I send you over to the pro. Jedi Craft Girl’s “My Favorite Zipper Pouch” tutorial is what I always follow for zippered bags with linings!
REMINDER: One key difference between my Switch Lite pouches and her tutorial is that my pouches do NOT have boxed corners, so you can ignore the cutting of a square piece out of each outer and lining panel. Since Switch Lites are pretty flat, our bag doesn’t need that extra step!
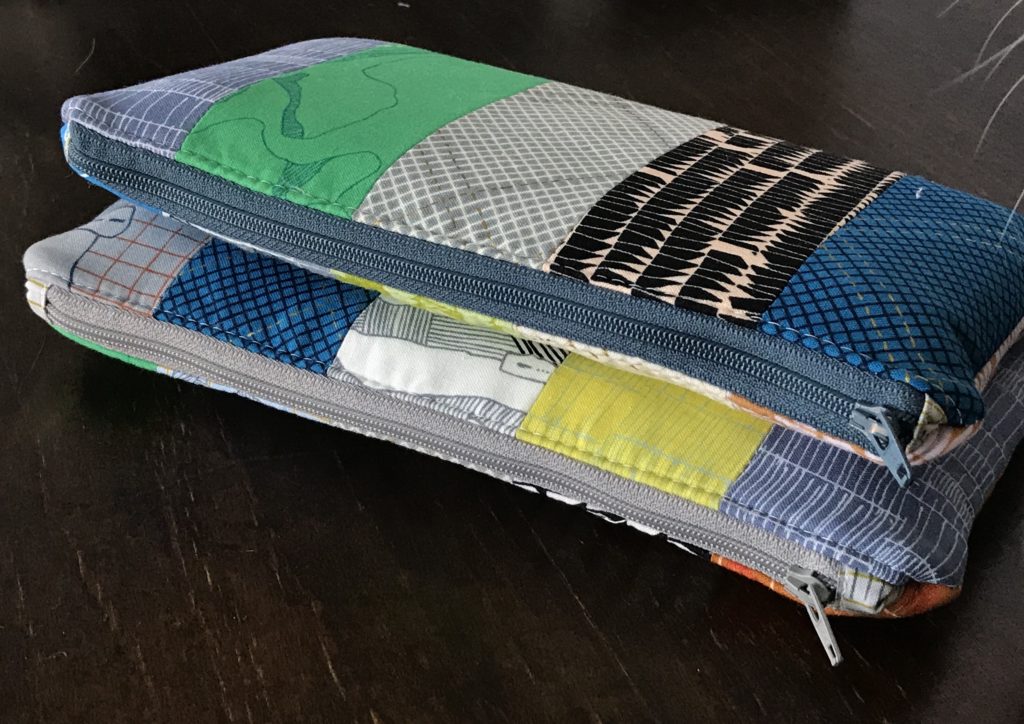
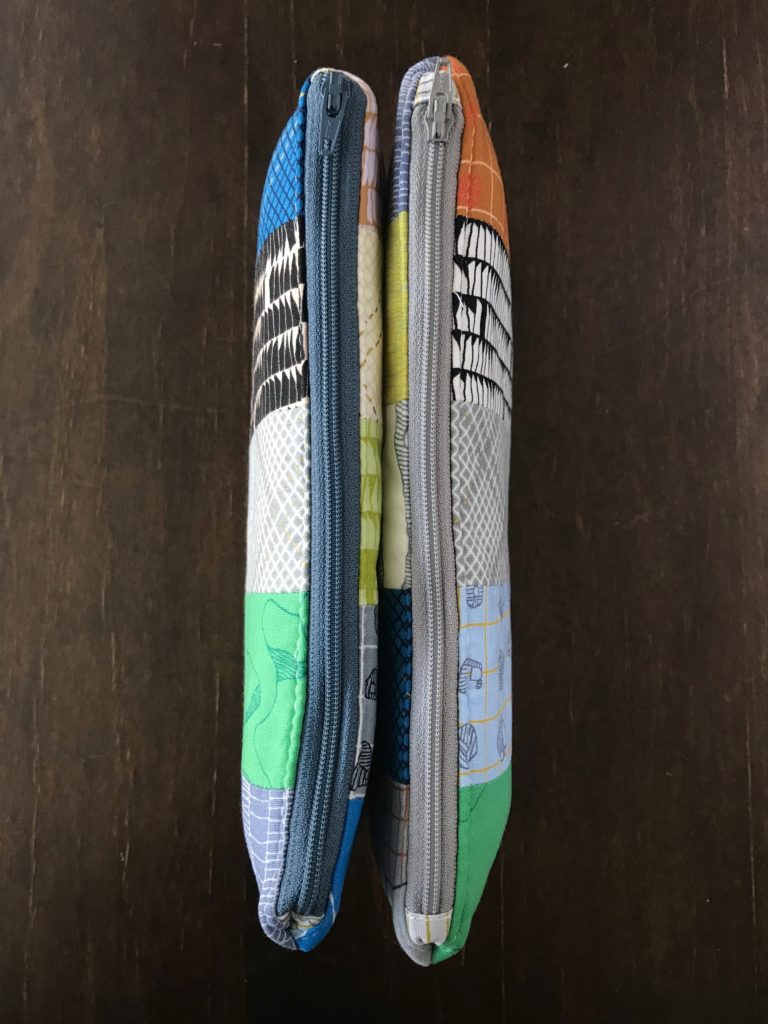
all finished
I hope this mini tutorial has been helpful if you’re wanting to make something similar of your own! Sewing with so many layers of padding is a little cumbersome, but totally worth it to protect those pricey gadgets. Happy sewing!
Hi,
This looks like a great pattern! Would my switch lite fit in the bag with its clear playing case on it? I just want to make sure there is enough wiggle room in the finished product before I make it.
Thanks!
Hello! Thank you! I don’t have hands on experience with a case like that, so I can’t say for certain exactly how much. . . but to be safe I would add a bit extra width AND length to your fabric and fusibles! (However much larger the case makes the switch plus a tiny bit more to account for the added thickness.) I hope that helps! Better a little too big than it not fitting, for sure.
hi! do you have a recommended seam allowance for the body of the pouch?
Hello! I’m so sorry for the much delayed reply. I receive so many spam comments, I fell far behind in moderation :(. Though I’m sure it’s too late to be helpful for your particular project, I wanted to reply just in case! I recommend sticking as close to 1/4″ seam allowance as you can, bearing in mind the thick layers will make it a little harder than a typical seam. You don’t want to lose too much size in the SA! In Jedi Craft Girl’s site instructions she does a 1/4″ as well. -Robin