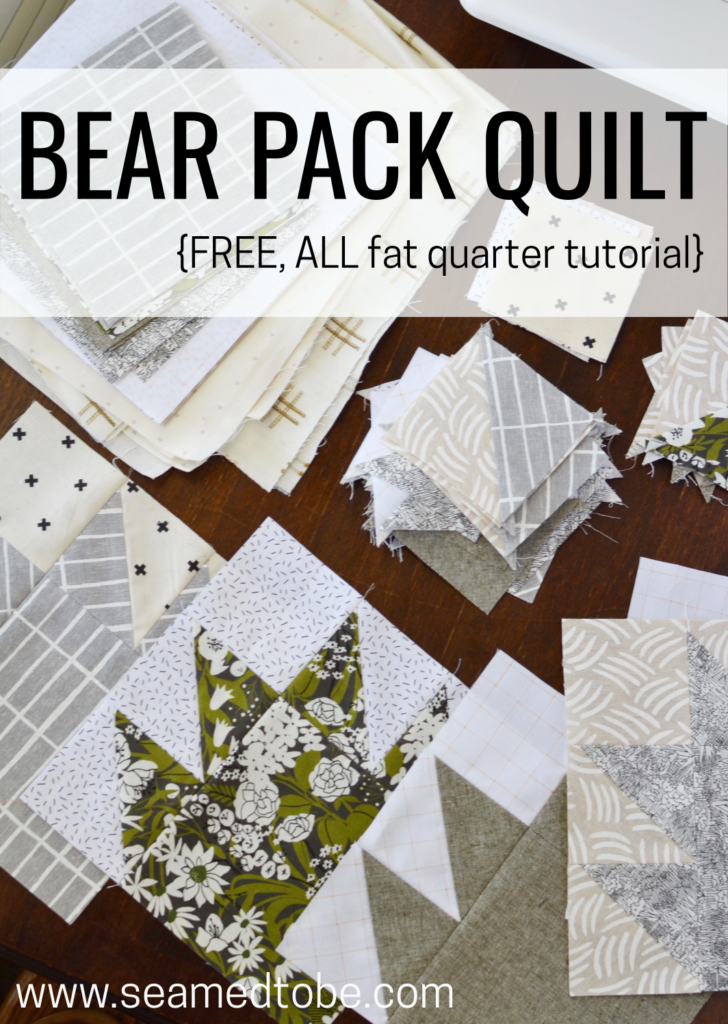
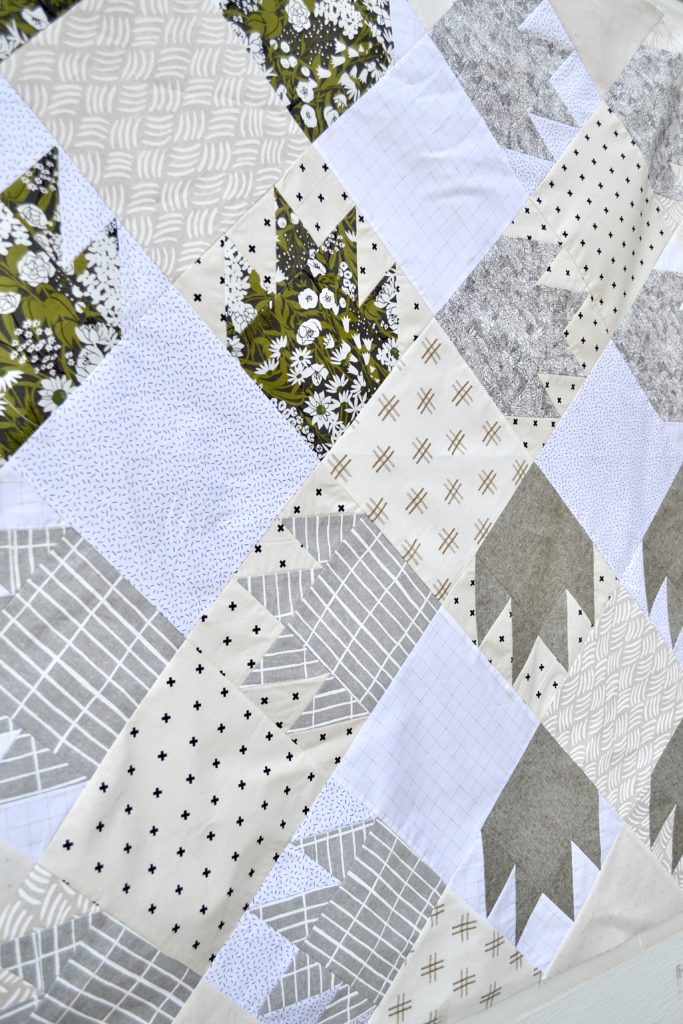
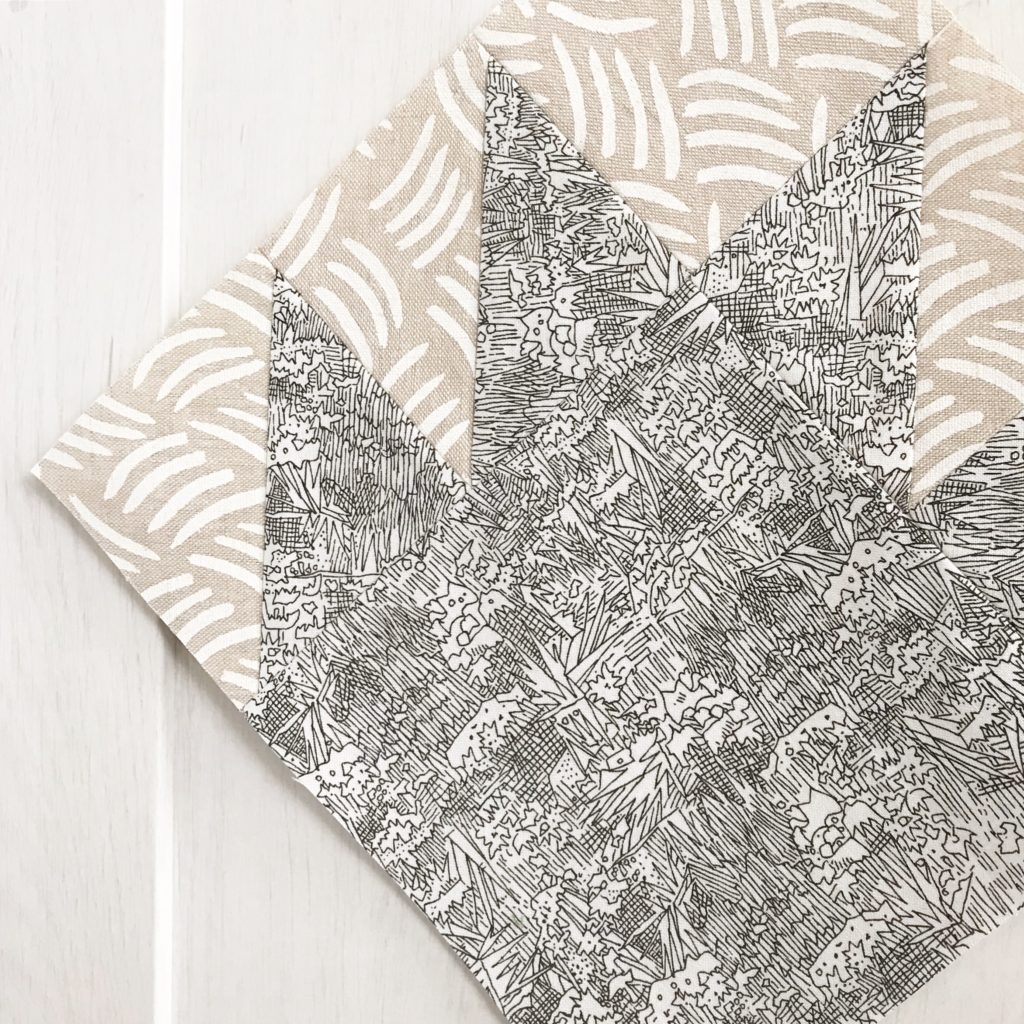
Classic blocks always catch my eye, and the bear paw has been my latest fancy. For a twist on the traditional layout, I have nixed the cornerstones and turned the paws on point, all four facing the same direction! It does seem like a more comfortable way for the poor bear to stand, after all. 😉
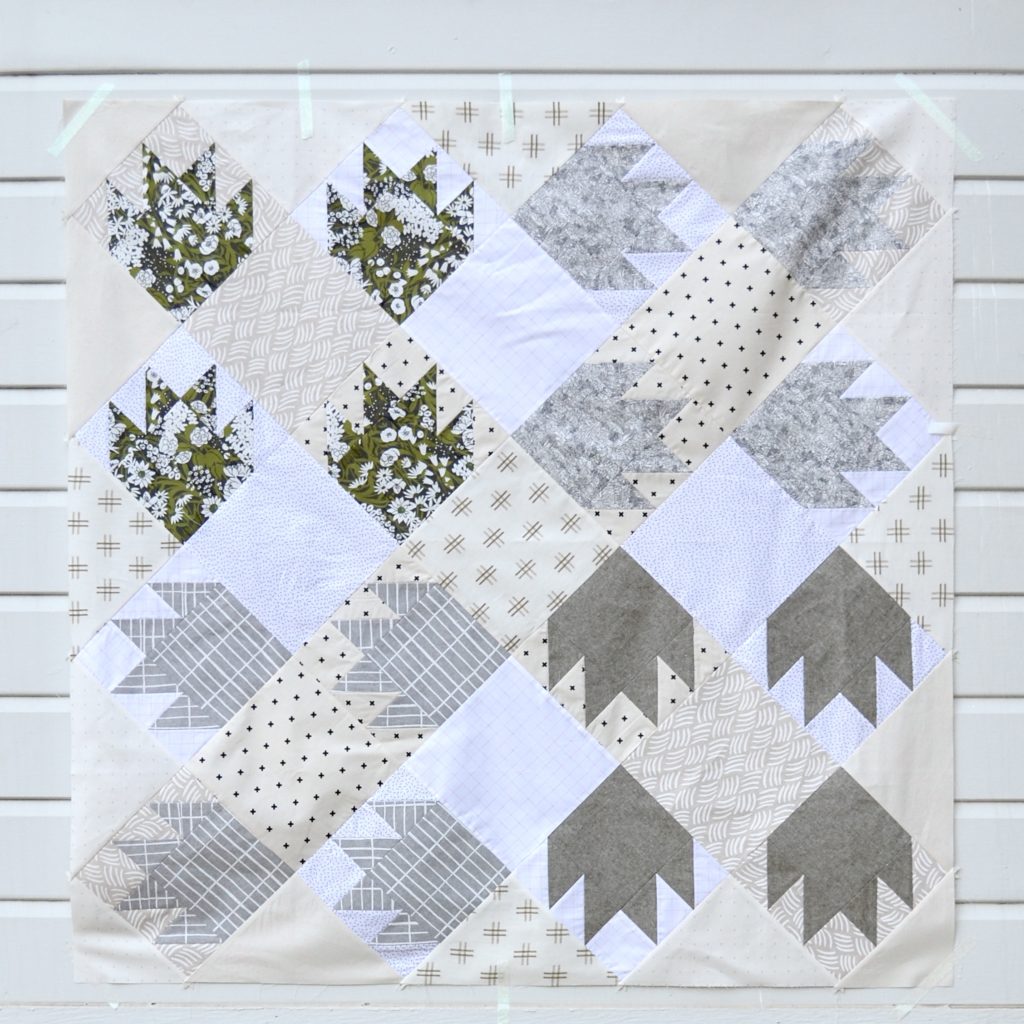
The Bear Pack quilt top finishes at about 47″ x 47″, a nice baby or lap size to accent your living room. Simply add a scrappy border if you want it larger!
I love, (and often need), to sew from stash so this quilt uses fat quarters for the paws AND the background. My hope that you don’t have to spend another penny on this top! A little tip low volume stash busting tip- if you haven’t started mixing whites and creams yet this is a great time to try it! BE FREE!
FYI: This quilt tutorial is a bit different from the patterns for sale in my Etsy shop. There is no file to download. Below you will find fabric requirements as usual, but a little less guidance and fewer visuals on cutting and assembly. As this tutorial assumes prior knowledge of basic quilt making, I consider this an intermediate project.
FABRIC REQUIREMENTS
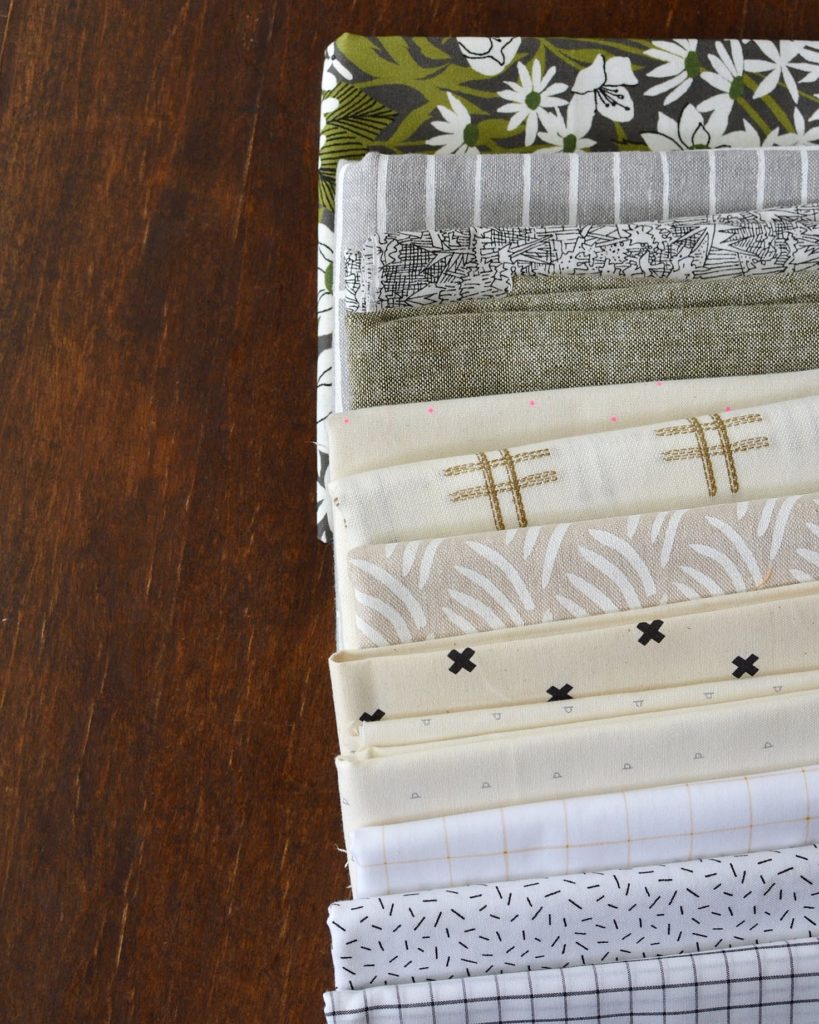
- 4 medium to dark fat quarters for paws
- 8 light or low volume fat quarters for background blocks and setting triangles
- . . . . THAT’S IT! DO NOT PASS GO, DO NOT RUN TO THE FABRIC STORE! (Except for backing, batting, and binding if you need those things for later ;))
PAW PIECES
It’s time to cut! From EACH of your FOUR medium to dark paw FQ’s, cut the following.
(4) 6″ squares (for main paw squares)
(4) 5.5″ squares (for making HSTs)
BACKGROUND PIECES
It really doesn’t matter which of your EIGHT light fat quarters these cuts come from since the quilt has a scrappy look! In case you want to do a bit more planning I have included the description of where the cuts will end up. I recommend starting with the largest cuts to ensure you don’t run out of big enough pieces in your fat quarters!
(3) 12 7/8″ squares (for side setting triangles)
(9) 8.75″ squares (for background)
(2) 6.75″ squares (for corner setting triangles)
(16) 5.5″ squares (for HSTs)
(16) 3.25″ squares (for paw blocks)
MAKING HSTs
We will make these four at a time! Take a 5.5″ square of paw fabric and place it RST with a 5.5″ square of background fabric. Use the common method shown below to create four half square triangles. Press seams open and trim them to 3.25″.

For each of your four paw fabrics, repeat the method shown above four times to create 16 HSTs of each paw fabric. (Four claws per paw!)
MAKING PAW BLOCKS
Grab a 6″ square of paw fabric, 4 matching HSTs, and one 3.25″ background square. Follow the diagram below for block assembly. Press all seams open!
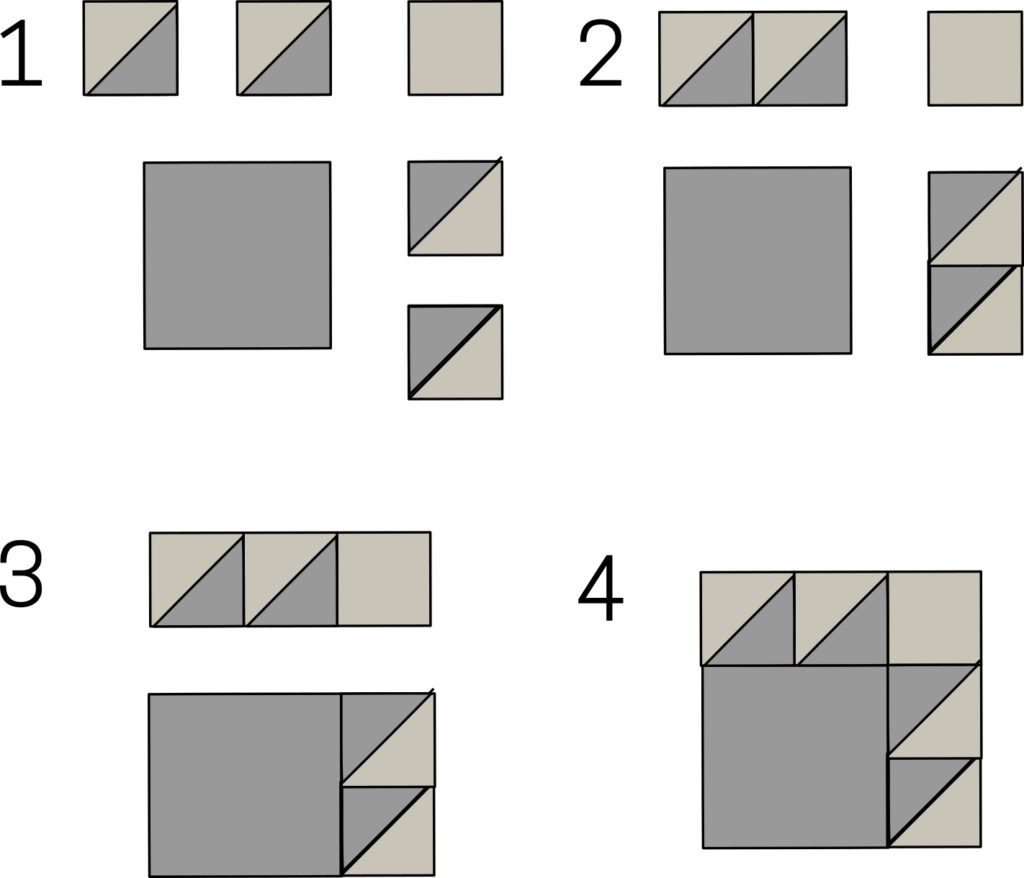
Repeat this process for all 16 paws on your quilt!
SETTING TRIANGLES
Cut your (2) 6.75″ background squares each in half (from the upper corner to opposite lower corner) to yield 4 corner setting triangles.
Cut your (3) 12 7/8″ background squares each in fours (diagonal from corner to corner both ways, forming an X) to yield 12 side setting triangles.

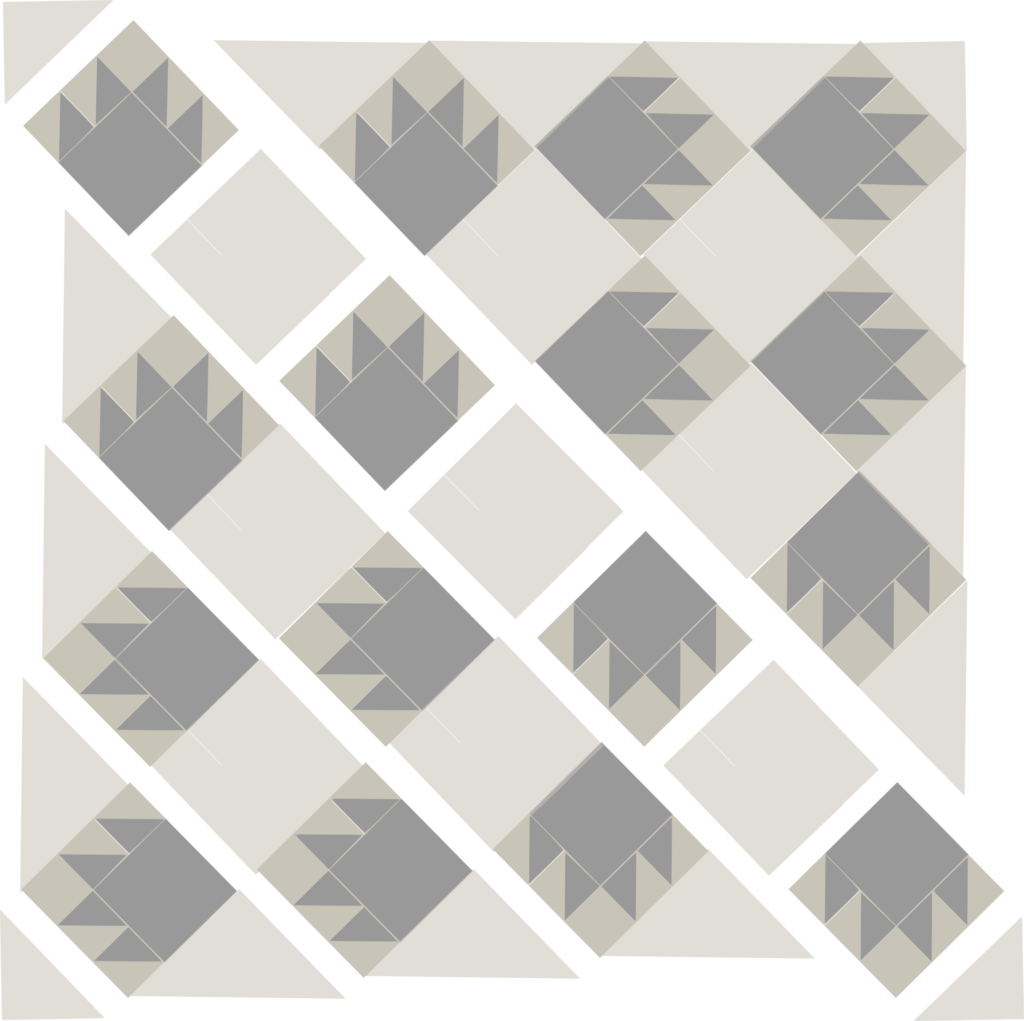
LAYOUT
Use the layout diagrams below to guide the assembly of your quilt. Press seams toward the background blocks and setting triangles for easy nesting of your rows.
The straight of grain edges of your setting triangles will be on the outer edge of the quilt to keep it nice and stable. The bias edges will be pieced with your blocks, so be gentle when sewing and pressing to avoid stretching!

Great interpretation of the block and design of your pattern!
Thank you Melanie! So glad you like it!
Super cute! I appreciate that it’s a quickie too…especially because I’m going to need a quick baby quilt. You know, co-worker that you didn’t plan on gifting anything to…who’s now made it a point to say nice things to you and then tells you (in secret) that it’s going to be a girl. Ugh. Anyway, perfect timing on this cute tutorial! Thank you!
Haha sly move by that coworker! They will be a lucky recipient 🙂 Thanks for the kind comment.
Just completed your quilt and love it! Your measurements were spot on as everything lined up perfectly. Made mine with fabric I had on hand, scrapping it up, as getting out to buy new fabric in 2020 was not an option. Thanks for the pattern!
Aw thank you so much! So sorry for the delay in replying to this comment- I get a ton of spam comments to wade through in moderation. Your compliment absolutely made my day!! 🙂